

How to Install Heavy Duty Chicken Wire Fencing: Step-by-Step Guide?
Installing chicken wire fencing can feel overwhelming when you stare at that roll of mesh and wonder where to start. You need your chickens safe and your garden protected, but poor installation leads to gaps, sagging, and frustrated poultry escaping.
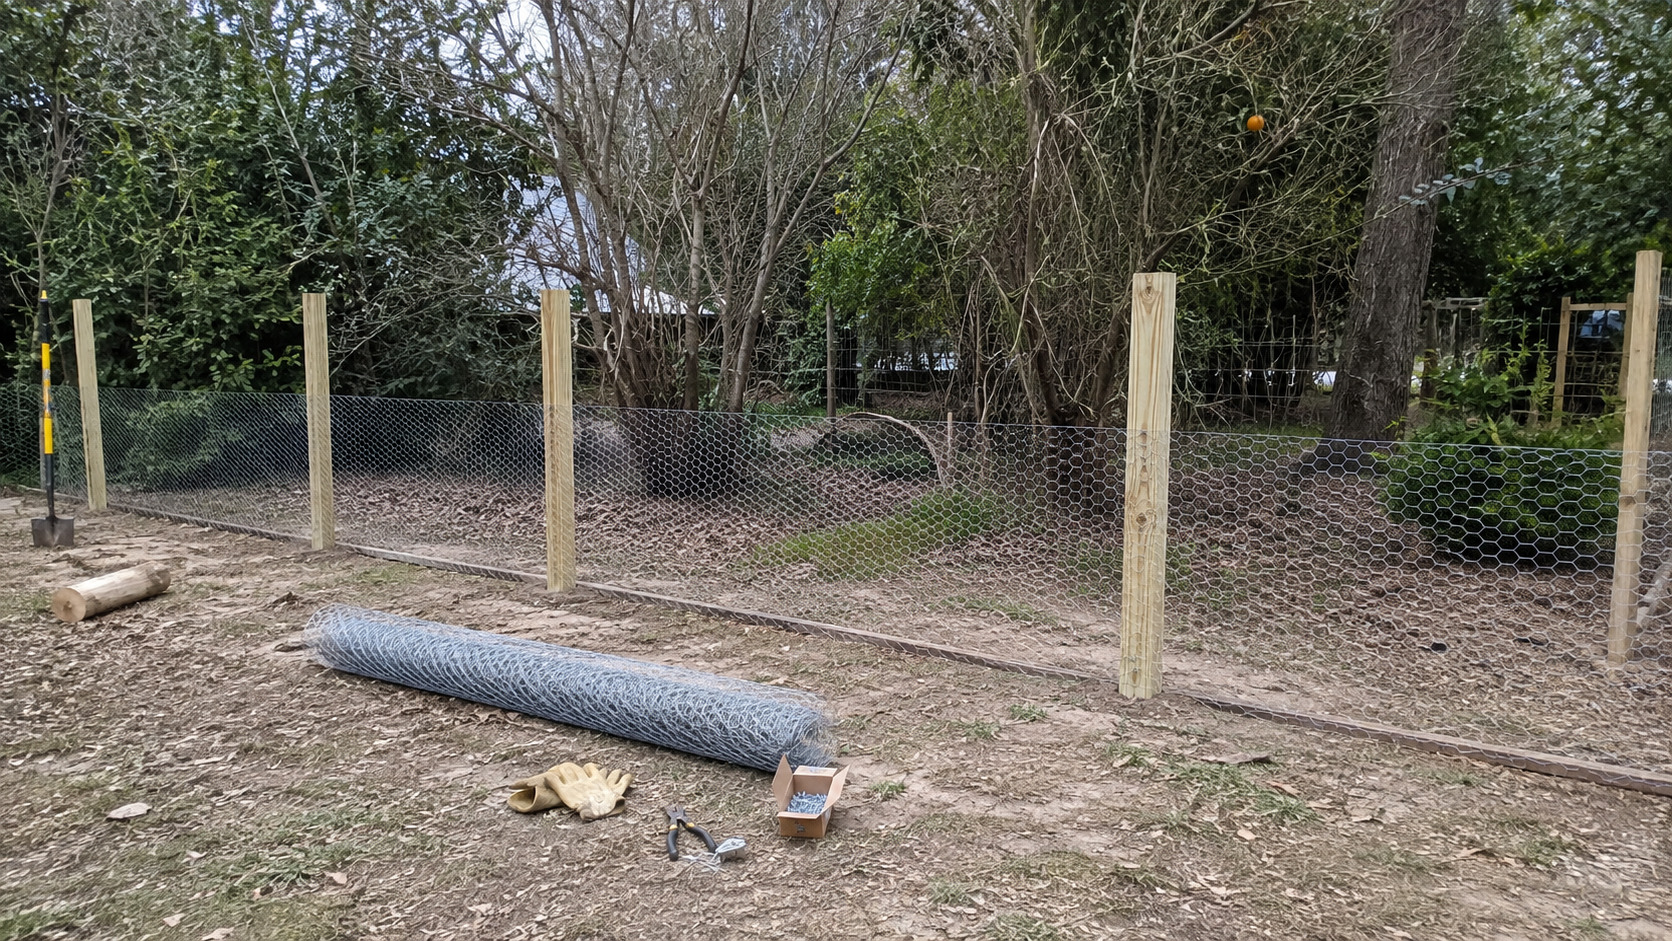
After installing hundreds of chicken wire fences at our manufacturing facility and helping customers worldwide, I learned that the difference between a fence that lasts 15 years versus one that fails in 2 years comes down to these installation fundamentals.
How do I attach chicken wire to wood posts?
Wood posts offer the easiest attachment method for most homeowners. You probably have the basic tools already, and wood forgives small mistakes better than metal posts.
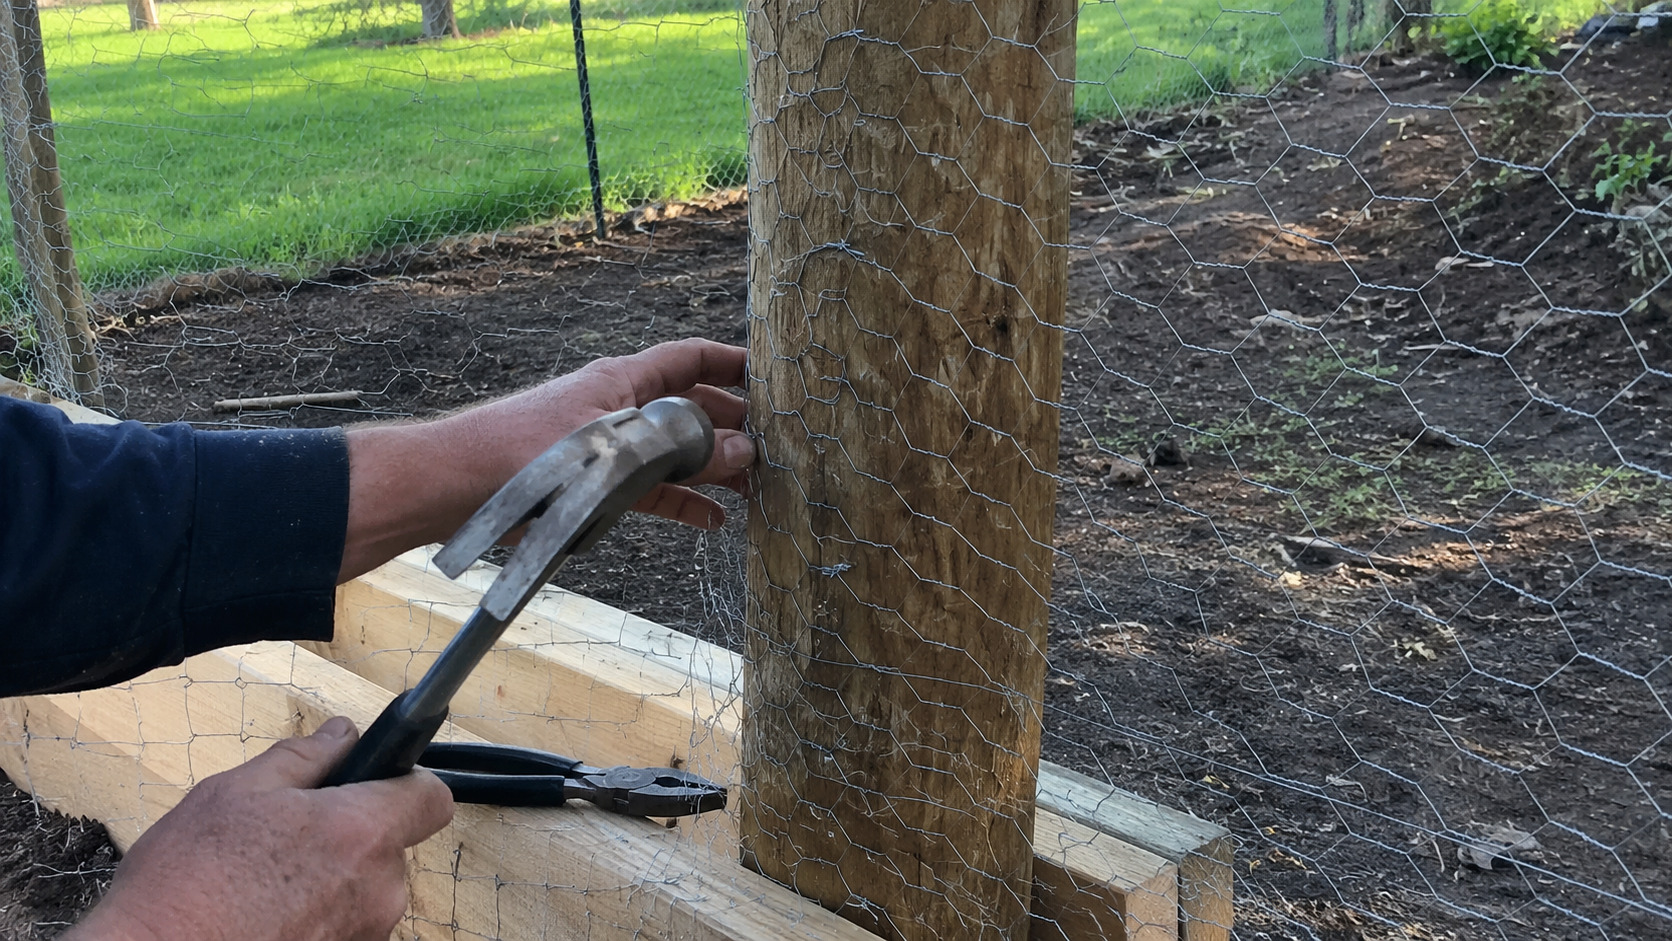
Wood post attachment works best when you follow a specific sequence. I start by positioning the chicken wire roll at the first post. The key is getting the wire positioned correctly before you drive the first staple.
Hold the wire against the post and check that it sits plumb. Drive your first staple into the top corner, but don't hammer it flush yet. This gives you a pivot point to adjust the wire position.
Pull the wire tight and drive staples every 6 inches down the post. I angle each staple slightly so one leg goes deeper than the other. This creates a stronger hold that resists the wire pulling away.
The bottom of the wire needs special attention. Bury the bottom edge 4-6 inches underground or secure it to a bottom rail. Predators dig under fences, and this buried edge stops most digging attempts.
For corner posts, wrap the wire around the post before stapling. This creates a stronger corner connection that handles the tension from both fence directions.
| Staple Type | Best Use | Spacing | Angle |
|---|---|---|---|
| 1-inch galvanized | Standard installation | 6 inches | 15-20 degrees |
| 1.25-inch galvanized | Thick posts | 6 inches | 15-20 degrees |
| Ring shank | High tension areas | 4 inches | 20 degrees |
How do I attach chicken wire to metal posts?
Metal posts require different attachment methods, but they create stronger, longer-lasting fence lines. The posts don't rot, and they handle tension better than wood posts.

Metal post installation takes more planning because you can't just staple anywhere like wood posts. T-posts have specific attachment points, and round posts need wire wrapping.
For T-posts, use the built-in clips or add separate fence clips. Position clips every 12 inches along the post height. The clips slide over the post flange and grip the wire mesh.
Tie wire works on any metal post shape. Cut 8-inch pieces of galvanized tie wire. Thread the wire through the chicken wire mesh, wrap it around the post, and twist the ends together with pliers.
I twist the tie wire ends at least 6 times for a secure connection. Leave about 1 inch of twisted wire, then bend it flat against the post so it doesn't catch on clothing or animals.
Round metal posts need tie wire exclusively. Space the tie points closer together - every 8 inches - because round posts don't grip the wire as well as T-posts.
Corner and end posts need guy wires for proper bracing. Run a wire from the top of the corner post to a ground anchor 8 feet away. This prevents the post from leaning under fence tension.
The bottom wire attachment determines fence security. Use tie wire to attach the bottom mesh to the post, then stake or bury the bottom edge. Some installers run a bottom wire between posts for extra security.
| Post Type | Attachment Method | Spacing | Tools Needed |
|---|---|---|---|
| T-posts | Fence clips | 12 inches | Clip pliers |
| T-posts | Tie wire | 8 inches | Wire cutters, pliers |
| Round posts | Tie wire only | 8 inches | Wire cutters, pliers |
| Square posts | Tie wire | 10 inches | Wire cutters, pliers |
How far apart should chicken wire fence posts be placed?
Post spacing affects fence strength, cost, and installation time. Too far apart and the fence sags. Too close together and you waste money and time.

Post spacing depends on several factors that many people overlook. Soil type matters more than most realize. Sandy soil requires closer spacing because posts don't hold as firmly.
Wind exposure changes everything about post spacing. Chicken wire catches wind like a sail. In windy areas, I use 6-foot spacing even for light-duty applications.
The height of your fence affects post spacing too. Taller fences need closer post spacing because they catch more wind and create more leverage against the posts.
Animal pressure determines spacing in agricultural applications. If you're keeping large animals in or predators out, use 6-foot spacing minimum. Small garden protection can handle 8-foot spacing.
Corner posts need different treatment. Set corner posts first, then measure and mark your line posts. Use a string line between corners to keep posts straight.
End posts and gate posts should be larger and set deeper than line posts. These posts handle more stress and need extra holding power.
I dig post holes 2 feet deep for standard applications. In loose soil or high-stress areas, go 30 inches deep. The general rule is one-third of the above-ground post height should be buried.
Set posts in concrete for permanent installations. Use fast-setting concrete mix and check that posts stay plumb while the concrete sets. In temporary installations, tamp soil firmly around the post.
| Fence Height | Standard Spacing | High Wind Spacing | Post Depth |
|---|---|---|---|
| 3-4 feet | 8 feet | 6 feet | 18-24 inches |
| 4-6 feet | 6-8 feet | 6 feet | 24-30 inches |
| 6+ feet | 6 feet | 5 feet | 30+ inches |
How do you join chicken wire together?
Joining chicken wire sections requires technique to create strong, secure connections. Poor joints create weak spots where predators break through or wire pulls apart.

Most people try to butt chicken wire sections together, but this creates a weak joint. Overlapping sections creates a stronger connection that handles stress better.
Cut the chicken wire with wire cutters, leaving individual wire ends about 3 inches long. These wire ends become your connection points to the next section.
Overlap the new section over the installed section by 6 inches. Thread the cut wire ends through the hexagonal openings in the overlapping mesh.
Twist each wire end around the mesh wires using pliers. Make at least 3 full twists to secure the connection. Trim excess wire to prevent sharp points.
For vertical joints, follow the same overlapping process. The overlap should run the full height of the fence for maximum strength.
At corners, you need special joining techniques. Cut the chicken wire to wrap around the corner post with 6 inches of overlap on each side. This creates a strong corner that resists pulling apart.
High-stress joints need additional reinforcement. Add tie wire connections every 12 inches along the joint. This distributes stress across multiple connection points.
Some installers use hog rings to join sections. These special clips compress around both wire sections and lock them together. Hog rings work faster than twisting individual wires but require a special tool.
When joining different wire gauges, always overlap the heavier gauge over the lighter gauge. This puts the stronger wire in the stress position.
| Joint Type | Overlap Distance | Connection Method | Reinforcement |
|---|---|---|---|
| Straight run | 6 inches | Twist wire ends | Every 24 inches |
| Corner | 6 inches each side | Twist + wrap | Every 12 inches |
| High stress | 8 inches | Twist + tie wire | Every 8 inches |
| Different gauges | 6 inches | Heavy over light | Every 18 inches |
Conclusion
Proper chicken wire installation creates lasting protection through correct post spacing, secure attachment methods, and strong joints that resist weather and predator pressure.